My DIY Series: Envelope Liners
Envelope liners are all the rage. You see them everywhere, and they are a beautiful but expensive touch to any set of paper goods for a wedding. When planning for your wedding stationary there is always a budget in mind. There are lots of ways to save money and still end up with amazing wedding stationary.
Wanna make beautiful envelopes on your own? Here’s how. You’ll need a few special tools, but if you’re already crafty (or know someone who is) chances are you already have these…
The tools you will need:
- The envelope(s) you are planning to make pretty
- Pretty paper (to use as the liner)
- Cutting board (resealable is the best, but really thick cardboard will do in a pinch)
- X-Acto knife
- Bone folder (in a pinch you can use the dull side of a knife, or run your X-Acto knife really lightly along the line where you want your paper to fold—just don’t cut the paper!)
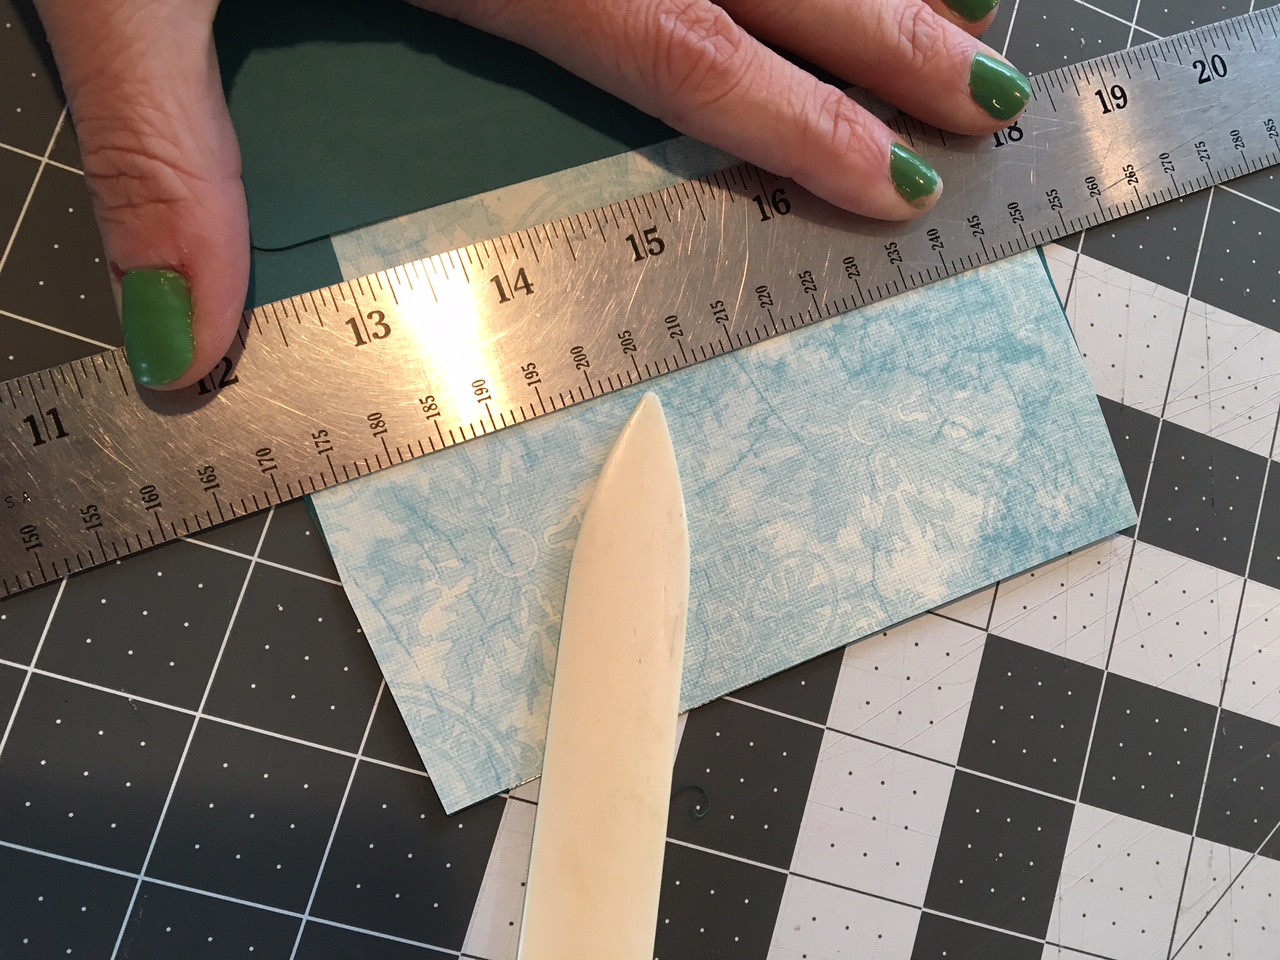
- Metal ruler
- Glue stick
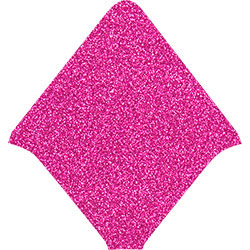
You may want to consider buying a liner template kit. My favorite is found here at the The Paper Source. But it’s for a specific shape envelope. So, if it doesn’t match your envelope, it won’t work. You can also buy an array of pre-cut paper liners at the Paper Source. My favorite: It’s a toss-up between the glitter fuchsia and blue marble:

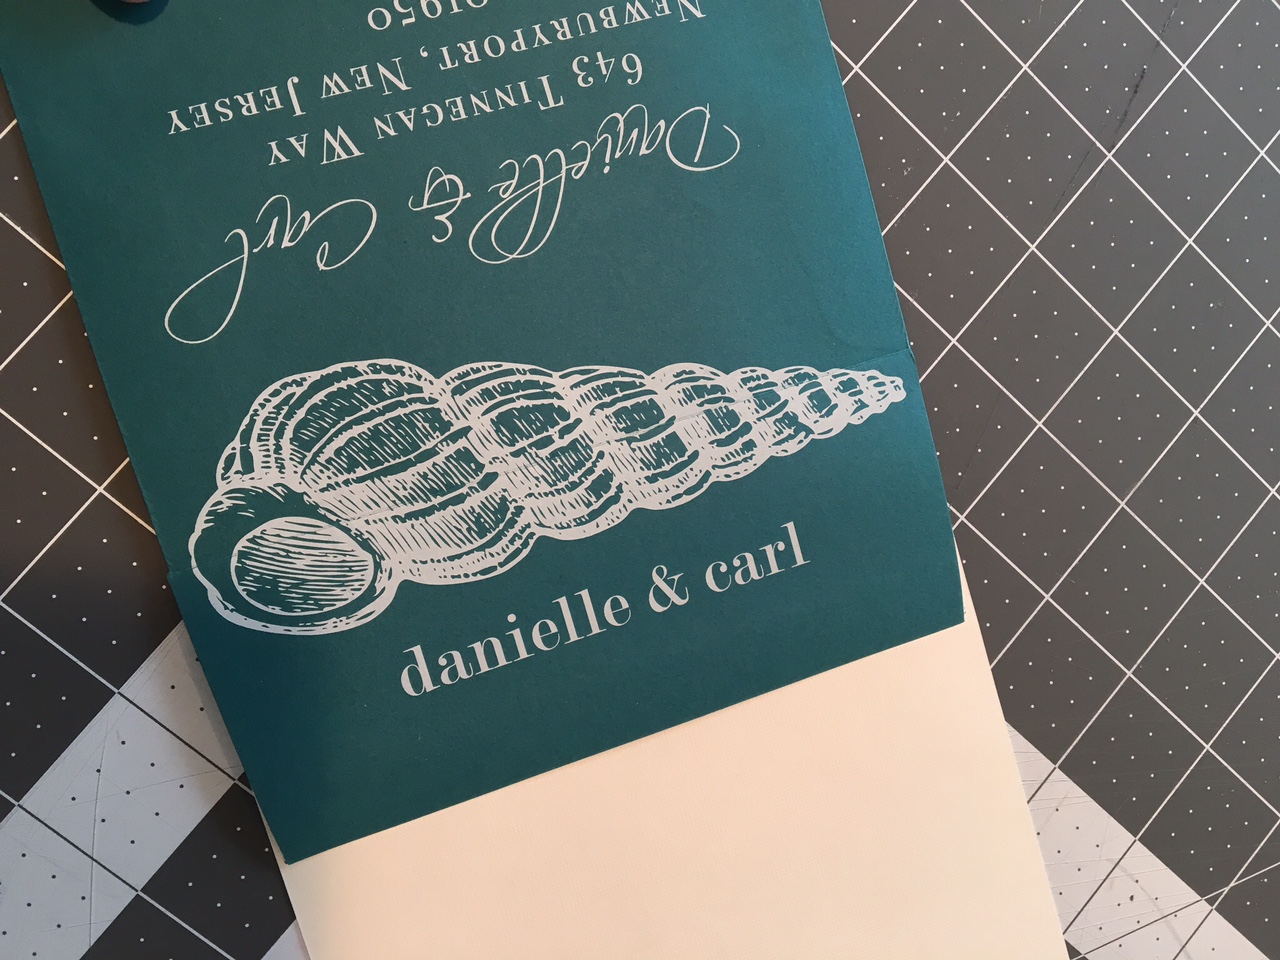
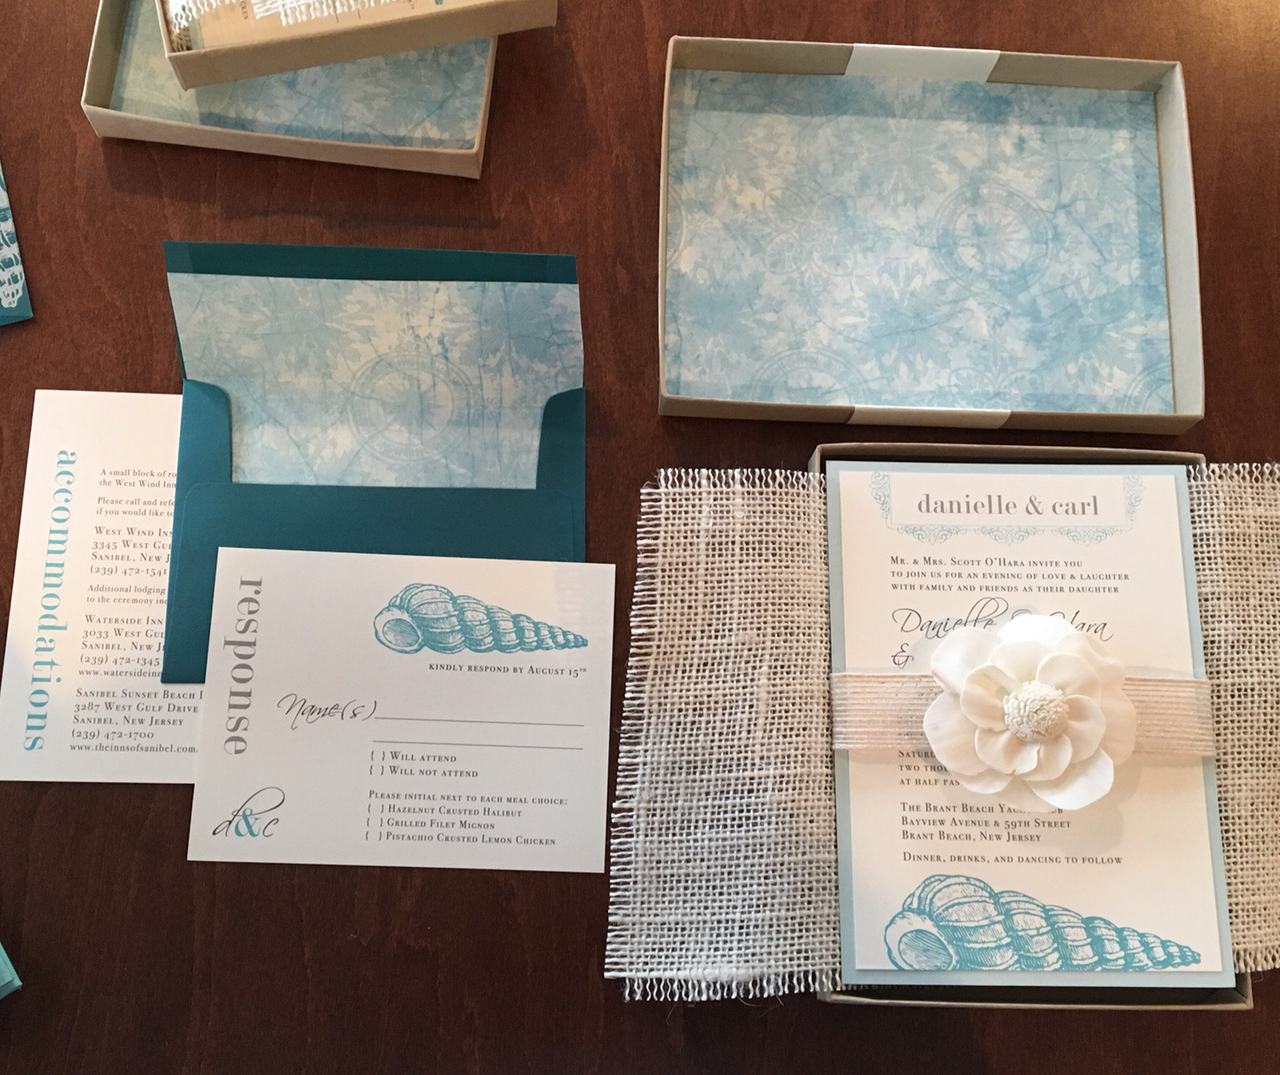
I purchased a fancy blue sheet of paper from the scrap book section of my local craft shop for this project. I am lining an A2 RSVP envelope and the inside of the lid for a boxed invitation set from Beacon Lane. I’m using both for a really cool, beach inspired, styled shoot at the Brant Beach Yacht Club on LBI on March 30th. I can not wait. They came out awesome!
Here’s a time-lapse video of the process, followed below by step-by-step instructions.
[wpvideo DmQbze5R]
Here are the steps to line an envelope:
1. Cut the special paper to the same width as your envelope. Measure! Then slide it into the envelope. It does not have to go to the bottom of the envelope. In fact, don’t slide it all the way down. You’ll use way more paper if you do (and hence it will cost more).
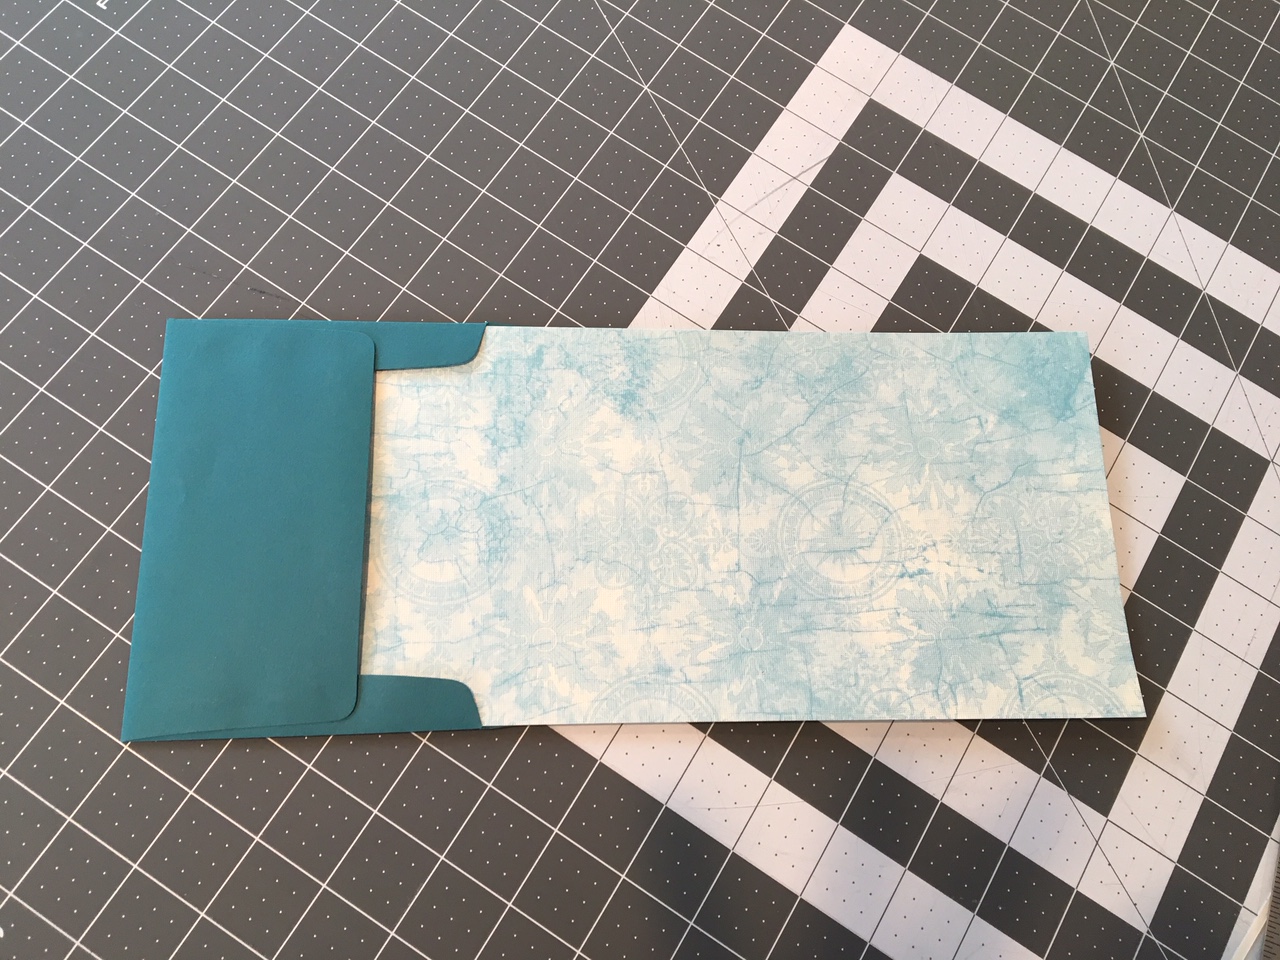
2. Turn the envelop over and trim the extra paper off the top.
3. Turn down the flap, and cut an extra 1/4 inch off the specialty paper (this way the glue shows. If it’s an inner envelope, you can skip this step, since they don’t get sealed.
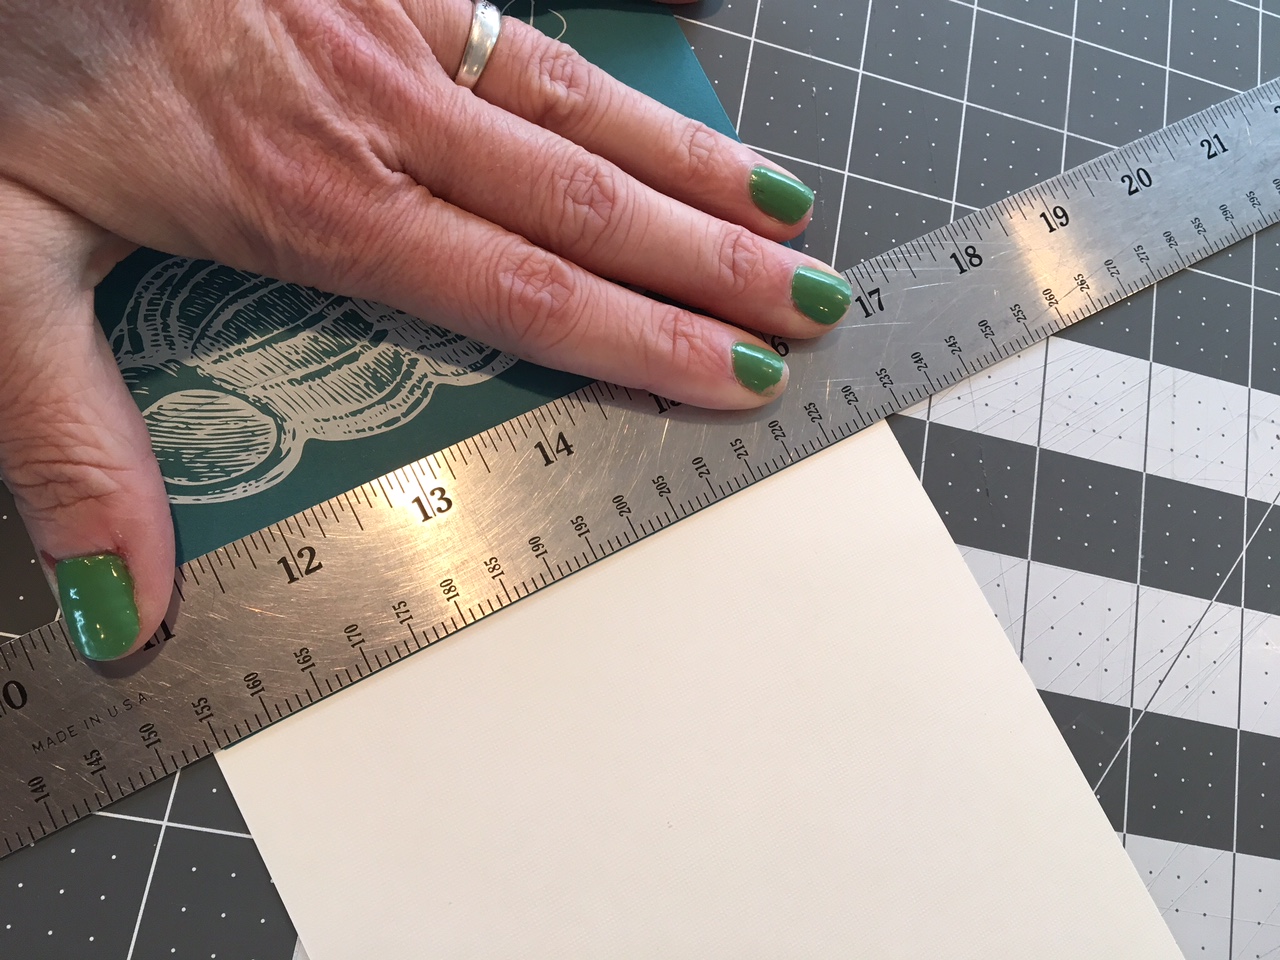
4. Using your metal ruler and the bone folder, score the fold.
5. Glue the specialty paper to the inside of the envelope. At this point, you’re done, the glue just needs to dry. I place the envelope under a heavy book for a 15-20 minutes to help the glue set. 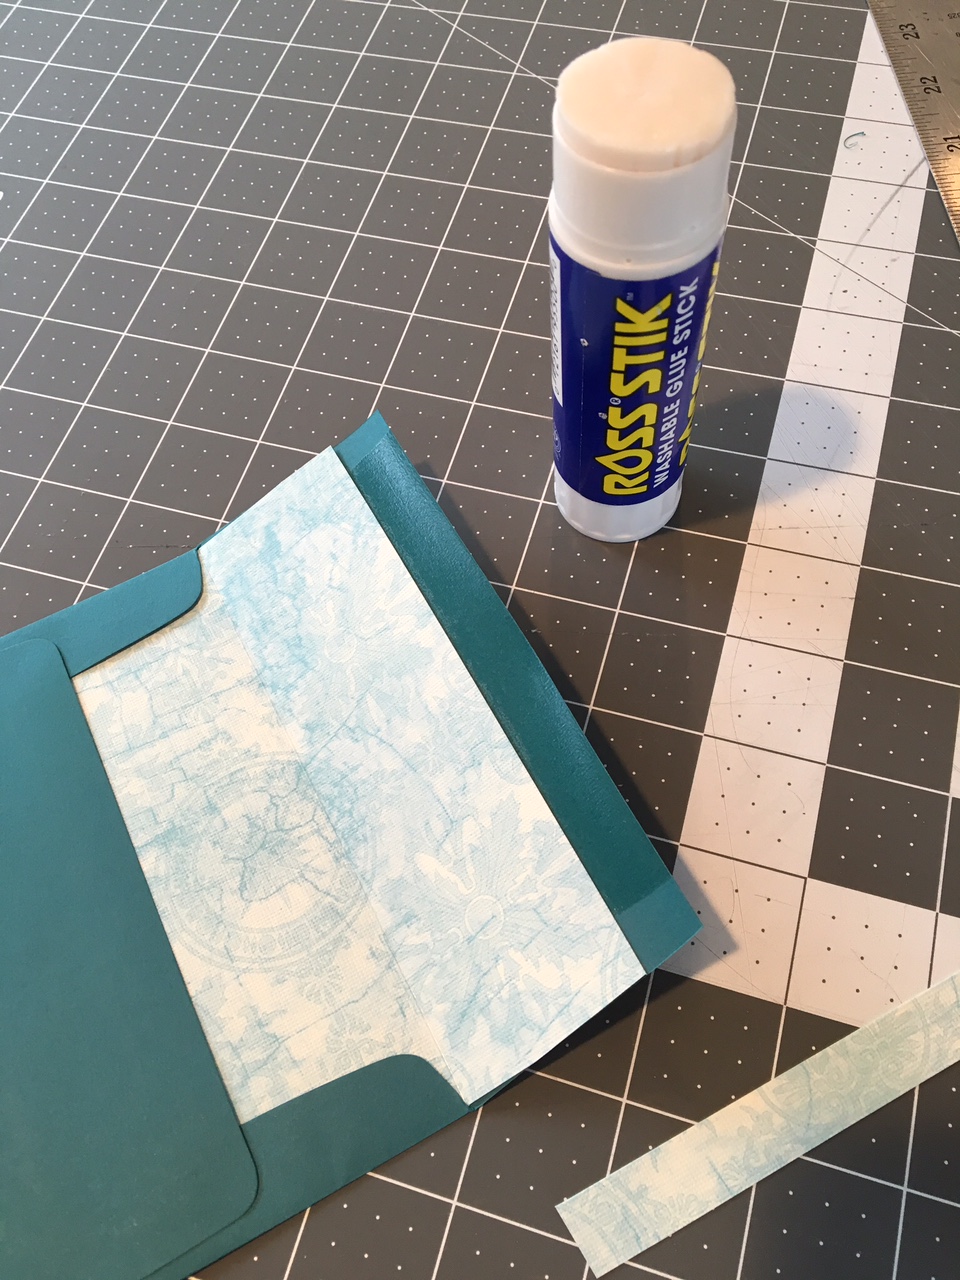
Here’s the finished product (with my amateur photography). I can not wait to see how this gorgeous set of stationary looks after being photographed at the styled shoot by the amazing talented photographer Alex Peterson of Idalia Photography.


You make it look so easy!! This is gorgeous, Jeanne!
[…] behind the scenes photos we took, as well as some more projects for the DIY Series. (If you saw the DIY envelope liners tutorial for the invitation package from Beacon Lane, that was a project for the styled […]
I absolutely love this!! How did I not see these earlier! Can we do this for my wedding?! I love how you show this step by step 🙂
[…] I love Beacon Lane’s designs so much that I also used them for a styled shoot last spring. Here’s a sneak peek, of their boxed invites. I also used them in a DIY tutorial on how to line invitation envelopes, check it out here. […]